- PostgreSQL Tutorial
- Database
-
PostgreSQL Syntax
- PostgreSQL Operators
- PostgreSQL SELECT
- PostgreSQL
- PostgreSQL WHERE
- PostgreSQL ORDER BY
- PostgreSQL LIMIT
- PostgreSQL MIN and MAX
- PostgreSQL COUNT
- PostgreSQL SUM
- PostgreSQL AVG
- PostgreSQL LIKE
- PostgreSQL IN
- PostgreSQL BETWEEN
- PostgreSQL AS
- PostgreSQL Joins
- PostgreSQL INNER JOIN
- PostgreSQL LEFT JOIN
- PostgreSQL RIGHT JOIN
- PostgreSQL FULL JOIN
- PostgreSQL CROSS JOIN
- PostgreSQL UNION
- PostgreSQL GROUP BY
- PostgreSQL HAVING
- PostgreSQL EXISTS
- PostgreSQL ANY
- PostgreSQL ALL
- PostgreSQL CASE
- Exercises
PostgreSQL - pgAdmin4
Connect to the Database
In the previous chapter we learned how to connect to the database using the SQL Shell (psql) application, which is a command-based application that allows us to interact with the PostgreSQL database.
There is another application that comes built-int with the PostgreSQL installation, the pgAdmin 4 application, which also offers to interact with the database, but in a more user-friendly way.
Let us take a look and see how it works.
Start pgAdmin4
You will find the pgAdmin4 application in the start menu under PostgreSQL:

Tip: If you cannot find it, try searching for "pgAdmin4" on your computer.
Once the program has started, you should see a window like the one below, choose a master password, Since this is a local database that will run only on my computer, I will once again choose the password 12345678:
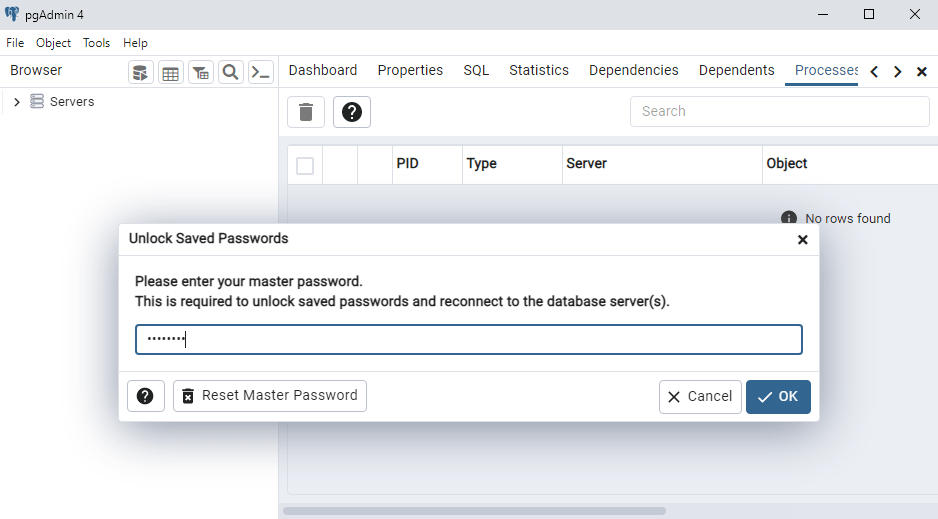
pgAdmin4
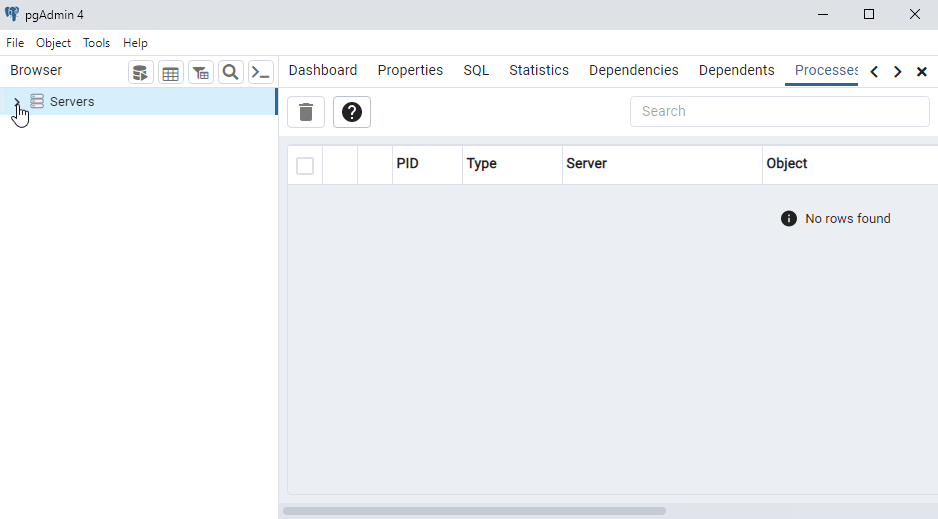
Once you are inside the program, try to perform a simple SQL query.
To do that we have to navigate to the database.
Start by opening the [Servers] option in the menu on the left:
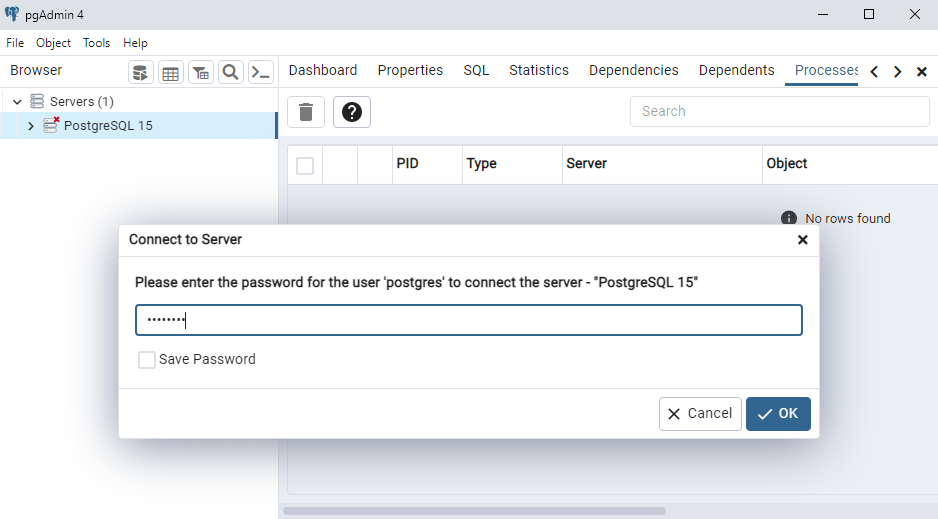
Connect to Server
Now you need to enter the password that you created when you installed PostgreSQL, my password is 12345678:
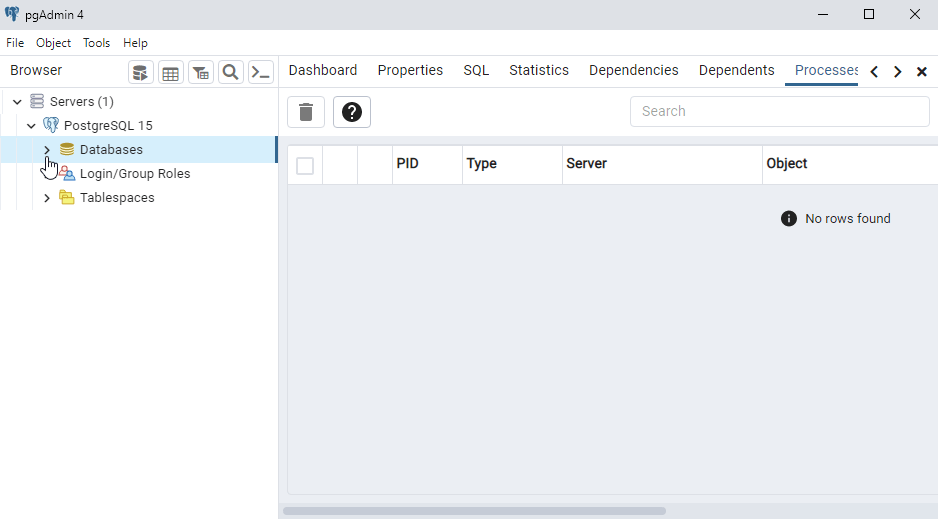
Find Database
Click on the [Database] option on in the menu on the left:
Open Query Tool
You should find a database named postgres, right-click it choose the "Query Tool":
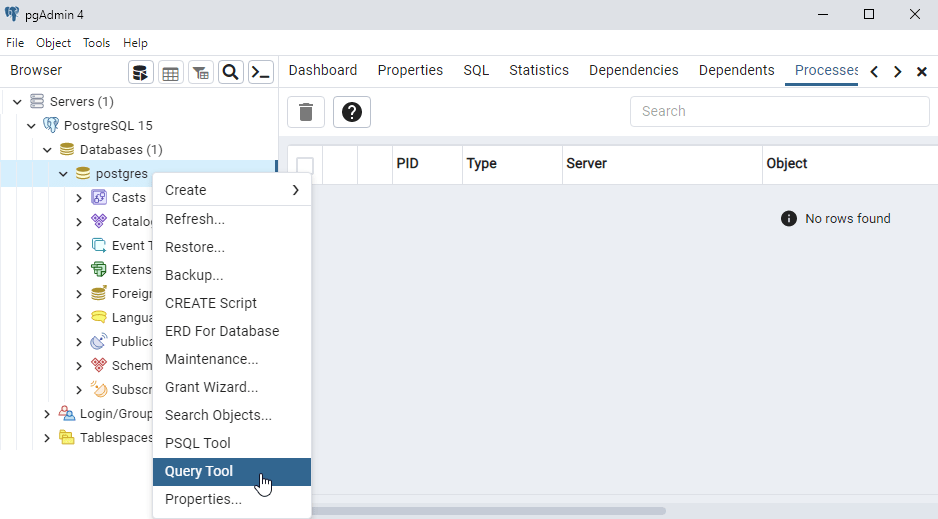
Query Tool
In the Query Tool we can start executing SQL statements.

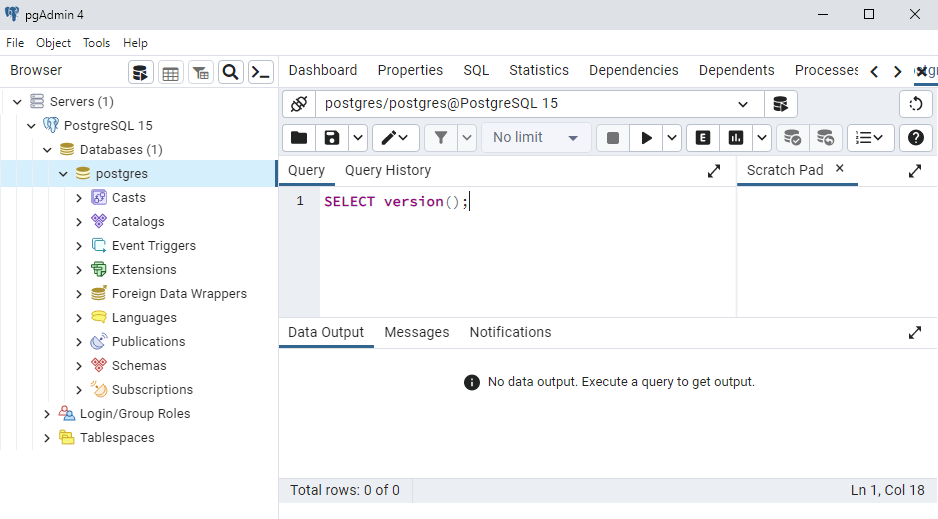
Write SQL Statements
Our database is empty, so we cannot query any tables yet, but we can check the version with this SQL statement:
SELECT version();
To insert SQL statements in the Query Tool, just write in the input box like this:
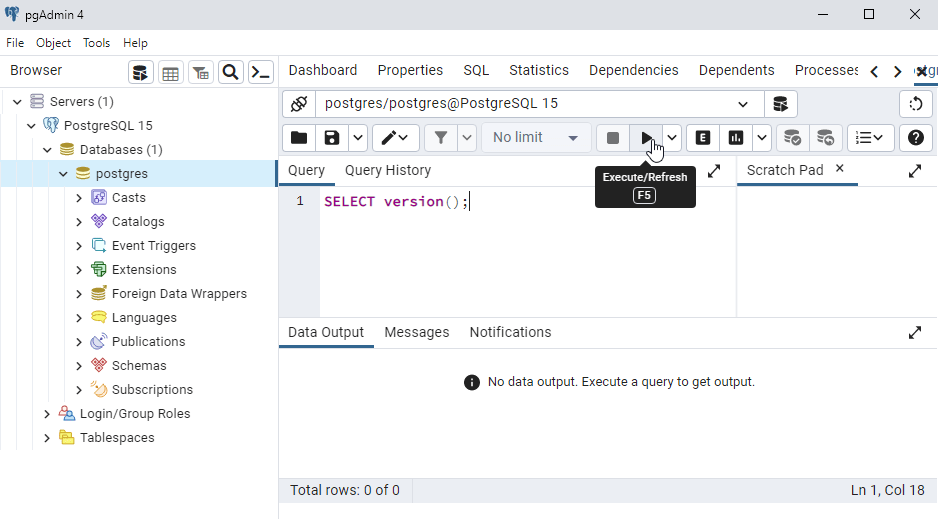
Execute SQL Statements
To execute a SQL statement, click the "Play" button above the input box:
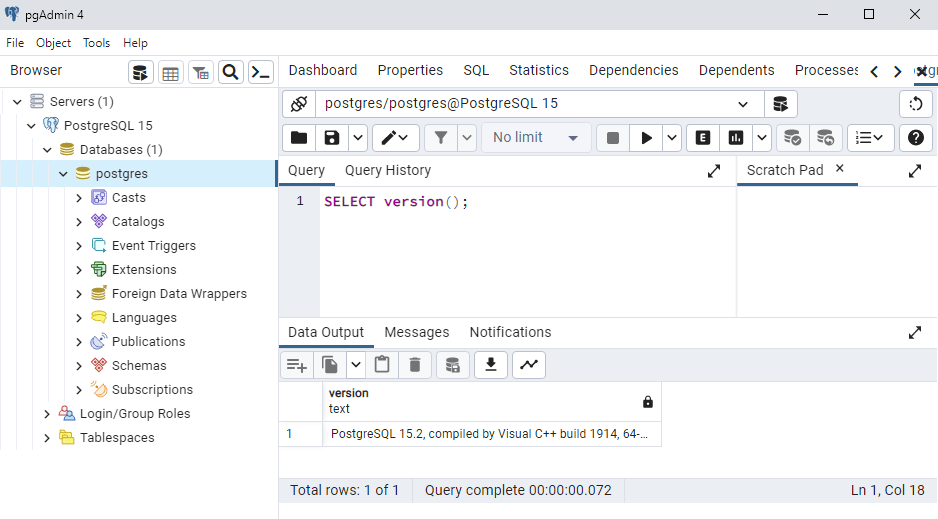
Result
The SQL statement is executed, and you can see the result in the "Data Output" area:
Now we have learned two ways of connection to a database and execute SQL statements on it:
- SQL Shell (psql)
- pgAdmin 4
In the next chapters we will use the SQL Shell application to create tables and insert data into the database.
If you want to use the pgAdmin interface instead, you can run all the SQL statements there, you should get the same result.
截取页面反馈部分,让我们更快修复内容!也可以直接跳过填写反馈内容!